
Last updated November 22, 2026
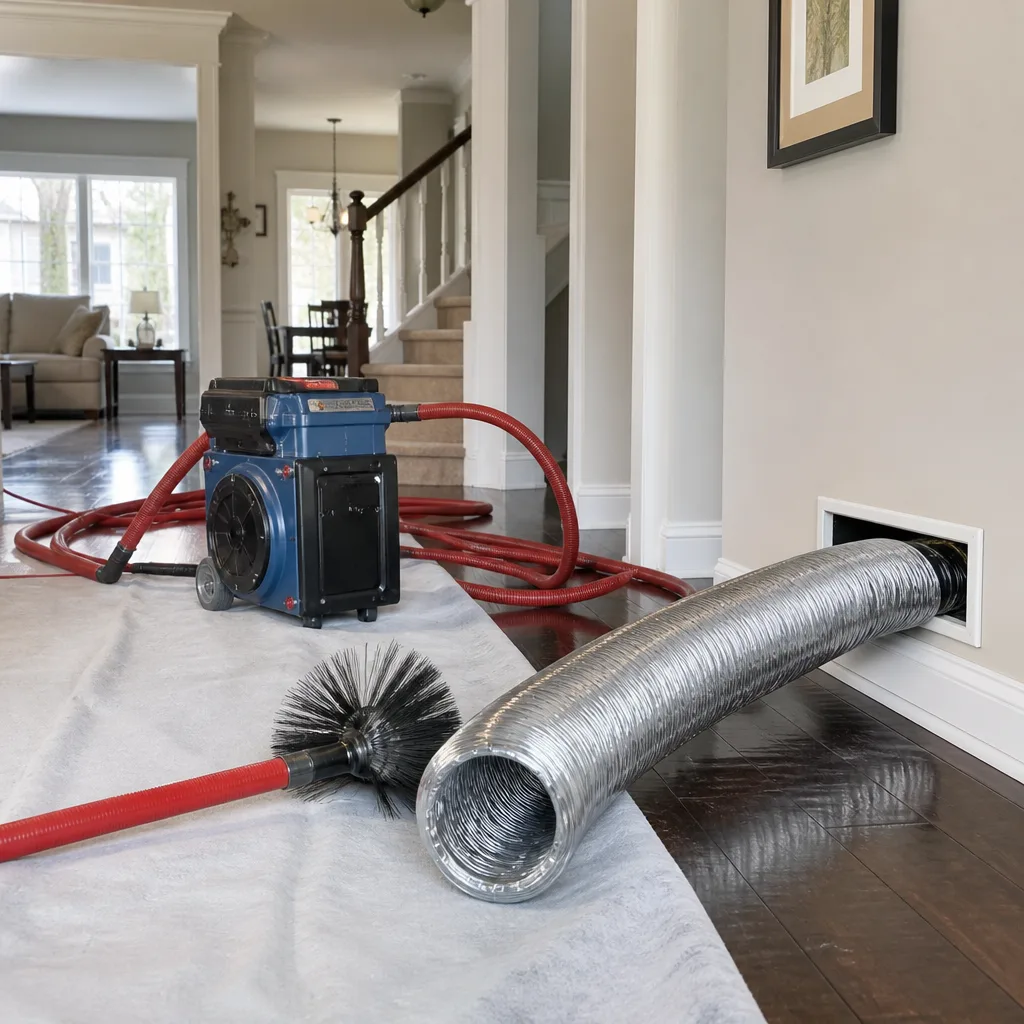 Whole-home duct cleaning
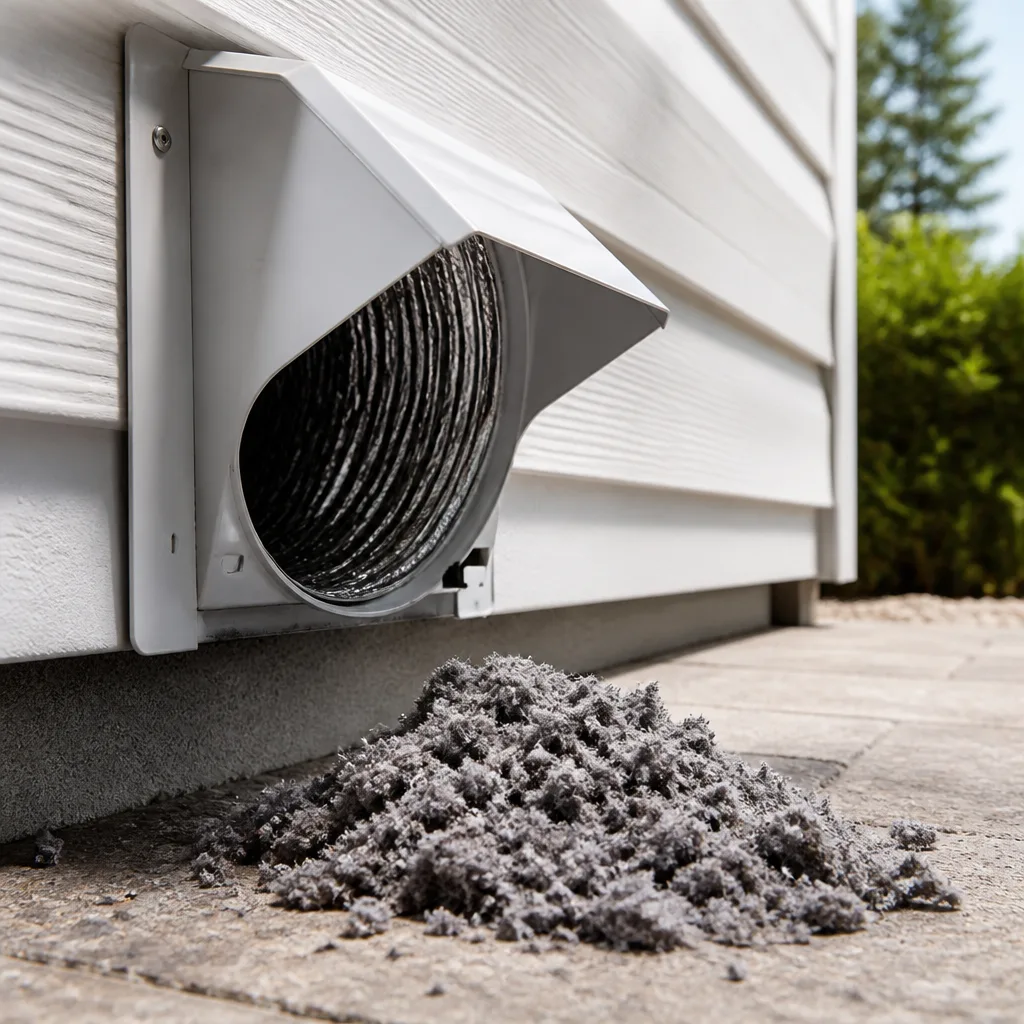 Dryer vent cleaning
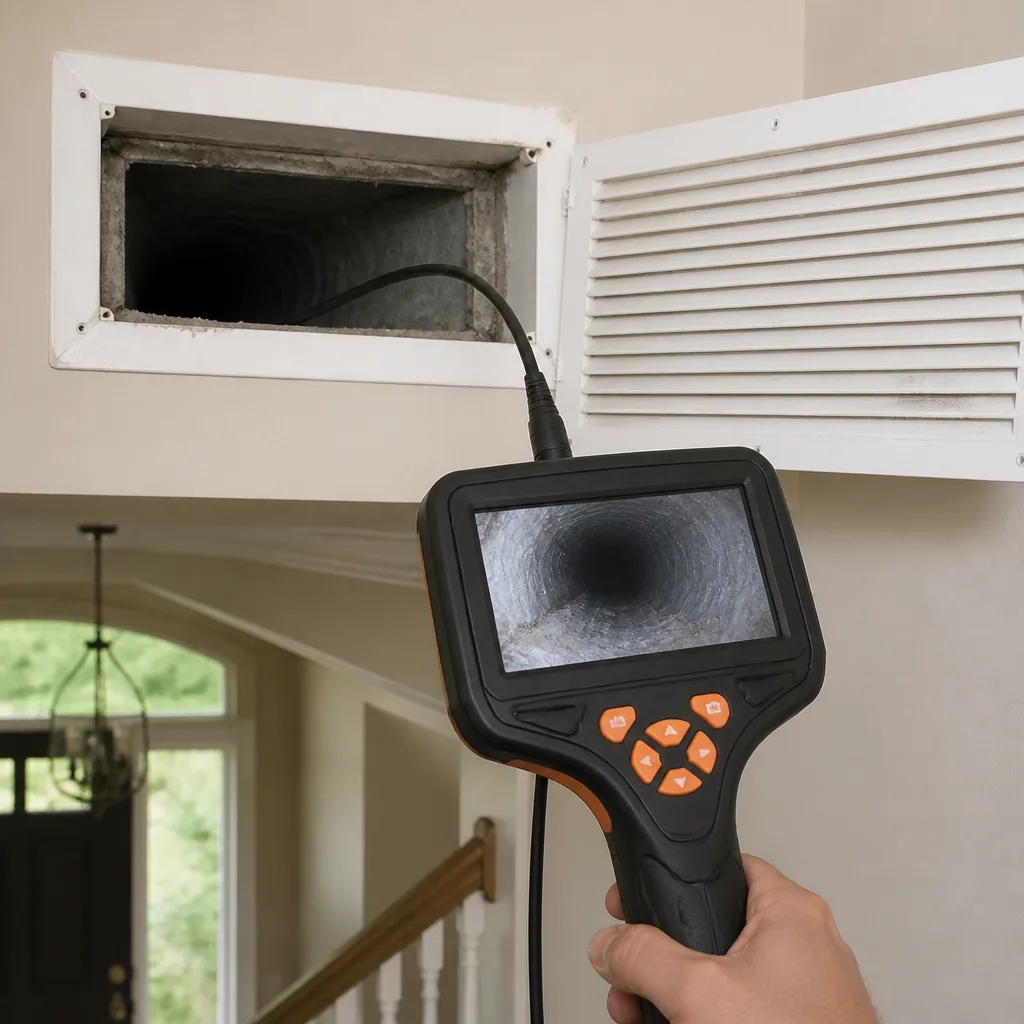 Camera inspection
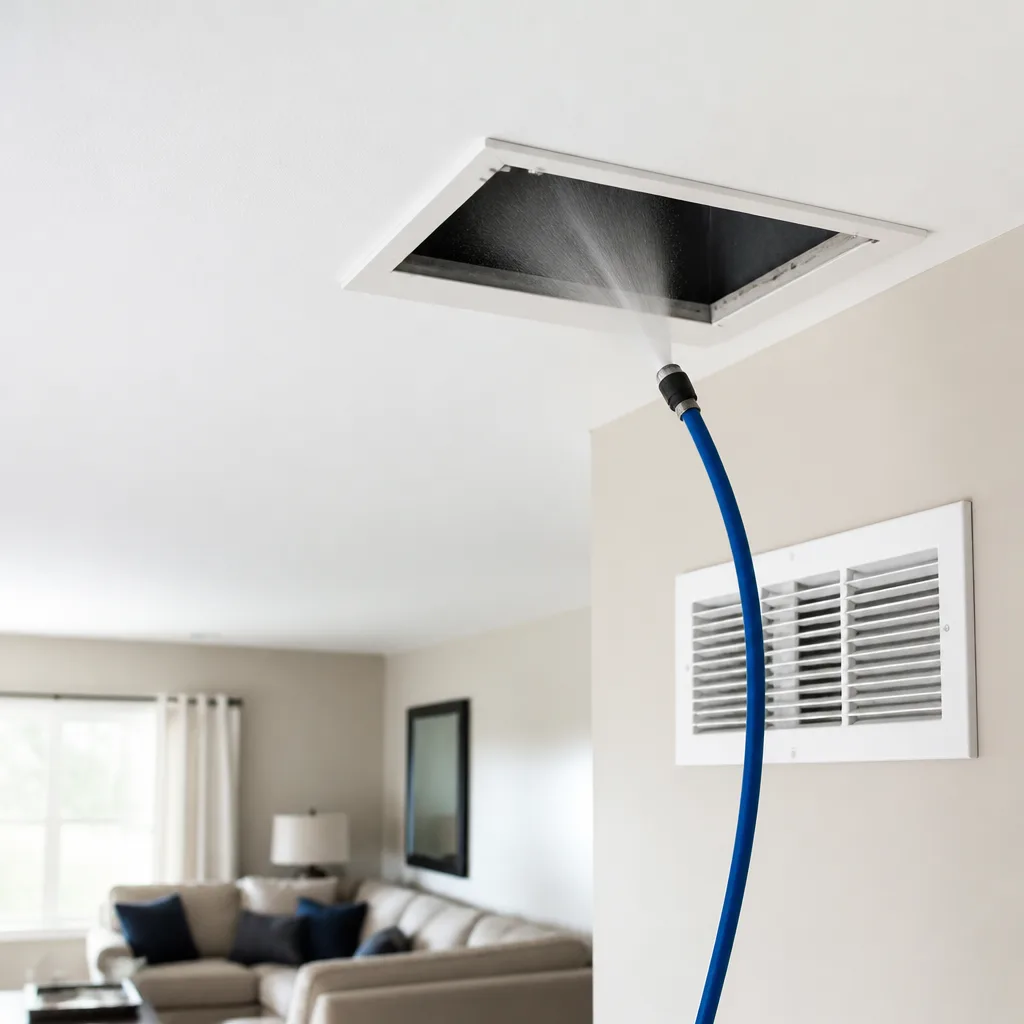 Sanitizing & deodorizing
Whole-system duct and dryer vent check with before-and-after photos - you see exactly what came out of your vents
That "$99 whole-house special" is a bait ad - the real number appears once they are in your hallway, or the "clean" is a shop-vac at the register. We photograph the inside of your ducts before and after instead.
Air Duct Cleaning Troubleshooting in Woodside: Common Problems and How to Fix Them
If your home smells musty or dust reappears within days of a duct cleaning, the job almost certainly wasn’t done with negative-pressure containment – and that’s a process problem, not bad luck. Most of the complaints homeowners bring us about a previous duct cleaning trace back to a handful of skipped steps: register boots that were never pulled, trunk lines nobody opened, a coil left untouched, or a flex run knocked loose and never reconnected. None of it is random. In this guide we map each symptom to its likely root cause, explain how to verify what was actually done, and show you how to have an informed conversation with any contractor in Woodside before and after the work.
Quick Answer
Most post-cleaning duct problems in Woodside come down to process, not mystery. Dust that returns in days usually means no negative-pressure containment was used, odor that lingers usually means mold on the evaporator coil or debris left in branch runs that were never reached, and airflow that drops after a cleaning almost always points to a disconnected or collapsed flex duct disturbed during the job. Each has a defined verification step and a defined fix – a re-clean, a camera inspection, or a duct repair and seal.
Styles & brands we work with
- Whole-home duct cleaning
- Dryer vent cleaning
- Camera inspection
- Sanitizing & deodorizing
Table of Contents
- Why Dust Comes Back Days After Cleaning
- How to Verify Negative-Pressure Containment Was Used
- Persistent Odor After Cleaning: Coil Mold vs. Leftover Debris
- Why Airflow Gets Worse After Cleaning
- Incomplete Job or Normal Settling? Telling the Difference
- Camera Inspection vs. Re-Clean vs. Duct Repair
- What’s Specific to Woodside Homes and Buildings
- A Checklist to Verify Any Cleaning Before You Pay
Why Dust Comes Back Days After Cleaning
Dust reappearing within a few days of a cleaning is the number one complaint we hear, and it usually has one of two explanations – and only one of them is normal. A thin film that settles over a week or two as the system redistributes air is expected. A visible plume within 48 hours is not. That’s a containment failure.
Here’s the mechanism. A proper cleaning dislodges years of accumulated debris from the interior duct surfaces. If the vacuum isn’t drawing negative pressure on the system while the agitation happens, that loosened debris has nowhere to go but out through your registers, into the rooms, and back into the return. The cleaning “worked” in the sense that the debris moved. It just moved into your living room instead of into a HEPA-filtered containment unit.
The other common cause is incomplete reach. A technician who cleans only the accessible main trunk and the first few feet of each branch leaves the longest runs untouched. That material stays put, keeps shedding, and by the following week it looks like nothing was done. Homes with long runs to a rear bedroom or an addition are the usual suspects.
What normal looks like
- A faint settling of fine dust over one to two weeks as the system rebalances airflow
- No visible dust trails at the register grilles
- No musty or stale smell when the system first kicks on
- Filter loading that looks similar to before, not dramatically faster
What a container failure looks like
- Visible dust puffing from registers within hours of the service
- Dust trails streaking out from the supply grilles
- A dusty smell that arrives with the blower, not before it
- Debris visible on furniture near a register the day of the job
If it’s the second list, the fix isn’t a second cleaning at full price – it’s a properly contained re-clean. Ask any contractor to show you the containment equipment on the truck before they start. That’s a fair question in Woodside and everywhere else, and the answer tells you a lot.
How to Verify Negative-Pressure Containment Was Used
Negative-pressure containment is the single most important process step in duct cleaning, and the easiest one to fake. It means the vacuum unit is drawing air out of the duct system at a higher rate than the system can pull air in, so every dislodged particle travels toward the vacuum and is captured by a HEPA filter before it reaches the room. Without it, you’re agitating debris inside a closed box and hoping it stays there.
The equipment is recognizable. Abatement Technologies negative-air units and HEPA containment setups are the same category of tools used in remediation work, and they’re the standard for a job that captures contaminants rather than pushing them around. A technician should be able to point to the unit, tell you where its exhaust goes, and show you the filter.
What to ask and look for
- Ask which vacuum unit is being used and where the exhaust runs. If the answer is vague, that’s your answer.
- Ask to see the CFM gauge on the vacuum unit. CFM is cubic feet per minute – the airflow the vacuum is pulling. A gauge or readout on the unit shows the draw in real time. A technician who knows the equipment can show you the number and explain what it means.
- Look for a sealed connection at the main trunk or a register boot where the vacuum anchors in. Loose tape and a hose propped in a doorway is not containment.
- Ask whether a HEPA filter is in place and when it was last changed. A loaded filter chokes the draw and defeats the point.
- Ask what happens to the return side. A full job accounts for both supply and return airflow, not just the supply registers.
Professional-grade equipment matters here in a way it doesn’t for most home services. A consumer shop vacuum cannot hold negative pressure on a duct system – it doesn’t have the CFM, and it doesn’t have the filtration. Rotobrush and Nikro systems are built for this and pair with containment equipment. When a company shows up with a shop vac and a brush on a flexible rod, the outcome is predictable.
Persistent Odor After Cleaning: Coil Mold vs. Leftover Debris
A musty smell that shows up when the blower starts and fades when it stops is telling you something specific. The odor is being carried by moving air – so it’s coming from a surface the air passes over. Two candidates: the evaporator coil in the air handler, or debris left sitting in branch runs the cleaning didn’t reach.
Coil mold
The evaporator coil stays wet during cooling season. In a humid stretch, condensate sits on the fins, and over time that surface supports biological growth. Cleaning the ducts doesn’t touch the coil unless the HVAC side is included. If the smell is strongest in the first minute after the system starts cooling, and it has a damp, wet-basement note to it, the coil is the likely source. The fix is a coil cleaning plus a sanitizing treatment – and a Guardsman-brand antimicrobial treatment on the duct interior can extend the effect, though it won’t fix a coil that was never cleaned.
Debris left in unreached runs
If the smell is more like stale dust, old paper, or an attic, and it’s consistent rather than tied to the cooling cycle, the likely cause is material sitting in a section that wasn’t cleaned. Long branch runs, jogs around a structural beam, and the transition at a flex-to-metal connection are the usual spots. This calls for a camera inspection and then a targeted re-clean of the missed sections.
How to tell them apart
- Timing: odor tied to the blower starting points to any surface in the air path. Odor tied to cooling specifically points to the coil.
- Character: damp and musty suggests biological growth. Dry and dusty suggests leftover debris.
- Location: strongest at one register rather than the whole house points to that branch run.
- Change over time: a mold issue tends to worsen with humid weather. A debris issue stays roughly constant.
One caveat worth stating plainly: if the smell has a sweet, sharp, or chemical character rather than a musty one, stop troubleshooting the ducts and call about a gas or refrigerant concern. That’s a different and more urgent conversation.
Why Airflow Gets Worse After Cleaning
A drop in airflow after a duct cleaning usually isn’t a cleaning problem at all. It’s a duct integrity problem the cleaning exposed. Agitation equipment moves air through the system at pressure, and a flex duct run that was already sagging, kinked, or loosely connected can come apart at a joint during the job. When that happens, the system is now blowing a portion of its air into a crawlspace, a wall cavity, or the attic instead of into the room.
The symptom pattern
- One room noticeably weaker than before the cleaning, while others are fine
- The blower sounds louder or runs harder with no change in thermostat setting
- Weak airflow at the register closest to a long flex run
- No change in filter condition, so a clogged filter isn’t the explanation
The three likely causes
- Disconnected flex at a boot or joint. The most common. The duct is intact but no longer attached where it meets a register boot or a trunk takeoff. Air leaks into the cavity.
- Collapsed or crushed flex section. A run that was kinked against a joist or pinched in a tight space gets disturbed and closes further. Airflow drops because the cross-section has shrunk.
- Damaged damper or a register left closed. Occasionally a balancing damper gets bumped during the job. Worth checking before anything more involved.
Diagnosis is straightforward with a camera and access to the run. The repair is usually a reconnect, a section replacement, and a proper seal at the joint. Duct repair and sealing is the correct fix here – re-cleaning the system won’t restore airflow that’s escaping into a wall cavity. If the run turns out to be crushed under flooring or in a tight chase, a partial reroute may be the cleaner answer.
Incomplete Job or Normal Settling? Telling the Difference
Not every follow-up complaint is a failure. Some is physics. The skill is telling the two apart quickly, without paying for a second visit that only needed patience – or accepting a “that’s normal” answer when it isn’t.
Signs it was a legitimately incomplete job
- Register boots were never removed or cleaned. Grilles may be wiped, but the boot behind them still has visible debris when you take the grille off.
- No trunk line access was established. If the technician never connected a vacuum to the main trunk, the long runs were never really cleaned.
- Only the largest supply registers were touched. Ask how many the technician addressed and compare against your total.
- The air handler and blower compartment weren’t opened. Duct cleaning that skips the blower wheel leaves a major source of dust in place – the wheel flings debris back into the airstream.
- No photos before and after. If you weren’t shown what was inside a duct before and after the work, there’s no way to know the extent of it.
Signs it’s normal post-cleaning settling
- Fine dust film appearing gradually over one to two weeks
- No visible debris at the registers
- A slight change in how the house feels for a few days as airflow rebalances
- No smell, no airflow loss, no visible trails
In our experience, the difference between the two is almost always the register boots and the trunk access. Those are the two steps that get skipped when a crew is rushing. For an established property in Woodside – a prewar walk-up or a mid-century house with a long rear addition – the trunk access question matters even more, because the runs are longer and the debris lays heavier.
Camera Inspection vs. Re-Clean vs. Duct Repair
Once you’ve narrowed down the symptom, the fix has three doors. Picking the right one saves money and actually solves the problem. Picking the wrong one is how people end up paying twice.
Re-clean
Re-clean when the ducts were genuinely dirty in sections that weren’t reached, or when the original job was done without proper containment. Signs: visible debris after the previous visit, dust returning fast, no before-and-after photos from the first job. This is the cheapest fix – but only if containment is done properly this time. A re-clean without negative pressure just repeats the original mistake.
Camera inspection
Camera when the problem is invisible. If airflow dropped, odor persists, or you can hear rattle or whistle in a run, a camera on a flexible line lets the technician see the inside of a branch run and locate a disconnected joint, a collapsed section, a rodent intrusion, or a standing moisture pocket. In older Woodside buildings with long branch runs and mid-century flex work, camera inspection is often the fastest route to the answer.
Duct repair and sealing
Repair when the problem is structural. A disconnected flex run, a crushed section, torn duct board, or joints that leak enough to pull in attic or cavity air all need to be physically repaired and sealed, not recleaned. Sealing a leak is what restores both airflow and indoor air quality – an unsealed joint is a permanent entry point for whatever air lives in the space around the duct.
A quick decision rule
- Visible debris at registers within 48 hours → re-clean with proper containment.
- Odor, airflow loss, or unfamiliar noise → camera inspection first.
- Camera shows disconnected or collapsed duct → duct repair and sealing.
- Odor tied specifically to cooling → clean the evaporator coil, then sanitize.
- Multiple problems at once → fix the structural issue first, then clean and sanitize.
What’s Specific to Woodside Homes and Buildings
Woodside is a mixed neighborhood, and the housing stock drives the troubleshooting patterns you’ll see here. A prewar walk-up has a completely different duct situation than a 1950s ranch or a newer build with a forced-air retrofit. That difference shows up in where problems live.
Older buildings with retrofit ductwork often have short, tight flex runs – workarounds around original construction – and those are the runs that get crushed or disconnected. They’re also the hardest to reach, which is why register boot cleaning and trunk access get skipped first. Buildings with radiator-era cores and later forced-air conversions sometimes have runs running through spaces that weren’t designed for them, and those are exactly where debris accumulates and where a camera earns its keep.
Humidity is the other factor. New York summers put a lot of moisture into the airstream, and the evaporator coil is where it condenses. In a long cooling season, an untouched coil is the most common odor source we diagnose. Homes with central air and a coil that hasn’t been cleaned in years are the usual suspects. Pairing duct cleaning with an HVAC-side cleaning on the coil and blower is what actually solves the musty smell – a duct clean alone won’t.
Then there’s the dryer vent. A clogged dryer vent is a fire risk and an efficiency problem, and it’s the one item most duct cleaners either skip or outsource. It belongs on the same maintenance list. If the dryer takes longer than it used to, or the outside vent flap barely moves, that’s the cue.
A Checklist to Verify Any Cleaning Before You Pay
You don’t need to inspect the ducts yourself to know whether the job was done right. You need the technician to demonstrate a handful of things and show you the evidence. Here’s the list we’d want a homeowner to run through, whichever company is on site.
- Ask to see the vacuum unit and its CFM gauge before work starts. A real duct cleaning unit has a readout of the airflow it’s pulling. A shop vac doesn’t.
- Watch the containment get sealed. The vacuum should anchor to the main trunk or a boot with a proper seal, not be propped near an open register.
- Take before-and-after photos of your own ducts. The technician should shoot the interior of at least one supply run and one return before and after. Ask to see both.
- Ask which register boots will be removed and cleaned. The answer should be “all of them.” Boots are where debris sits longest.
- Ask how trunk access is being established. If there’s no answer, the long runs aren’t being cleaned.
- Confirm the blower compartment and coil are part of the job if you’ve had odor. Duct cleaning that skips these leaves the source in place.
- Ask what sanitizing product is used if it’s offered. Guardsman-brand treatments are a known standard. Anything unnamed deserves a question.
- Get the flat price per system confirmed in writing before work begins. A per-vent price or a low teaser that grows once the technician is on site is the pattern to walk away from.
The other question worth asking: what does the company do to verify the job before it leaves? Before-and-after photos of your own ducts and a walkthrough of the containment setup are reasonable expectations. If those aren’t available, the job didn’t have a verification step – and there’s no way to know what was actually done.
Common Mistakes to Avoid
- Hiring on a per-vent price. A per-vent number encourages the technician to count registers instead of cleaning the system. The system is the unit of work, not the vent, and a legitimate price should reflect that.
- Assuming a low quote is a steal. A quote that’s far below others usually means no containment, no trunk access, and no coil. The gap between cheap and proper isn’t a discount – it’s skipped steps.
- Skipping the return side. Return ducts carry as much debris as supply runs. A job that only touches supply registers has cleaned half the system, and the return pulls the same air back through.
- Not asking for photos. Without before-and-after photos of your own ducts, there’s no evidence either way. This is the single easiest verification available.
- Re-cleaning when the problem is structural. A second cleaning won’t fix a disconnected flex run. If airflow dropped, diagnose the duct, not the debris.
- Cleaning ducts and skipping the coil. In a Woodside home with a musty smell, the coil is the likely source. Duct cleaning alone re-circulates the same odor.
- Ignoring the dryer vent. It’s on the same maintenance cycle and it’s a fire risk. If the dryer runs long or the exterior flap stays shut, that’s a separate call.
See the difference
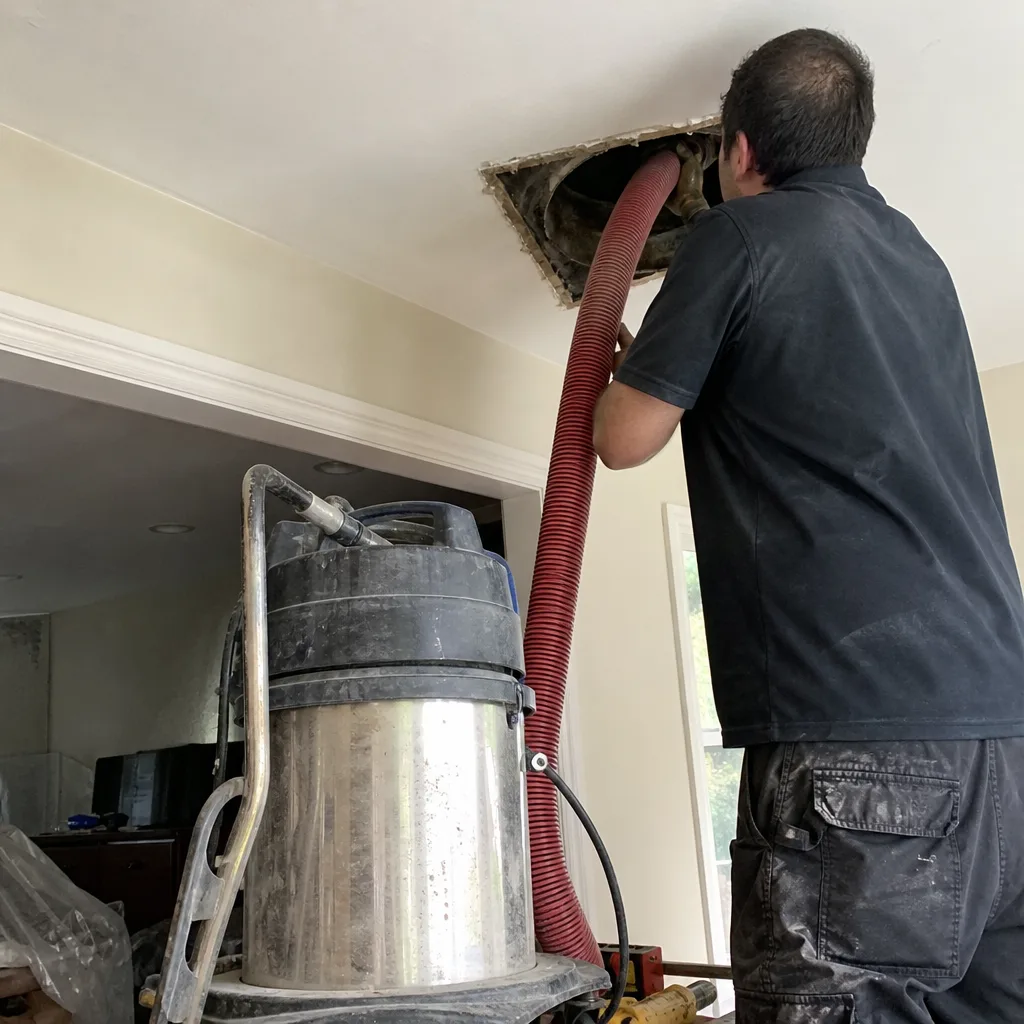 Before
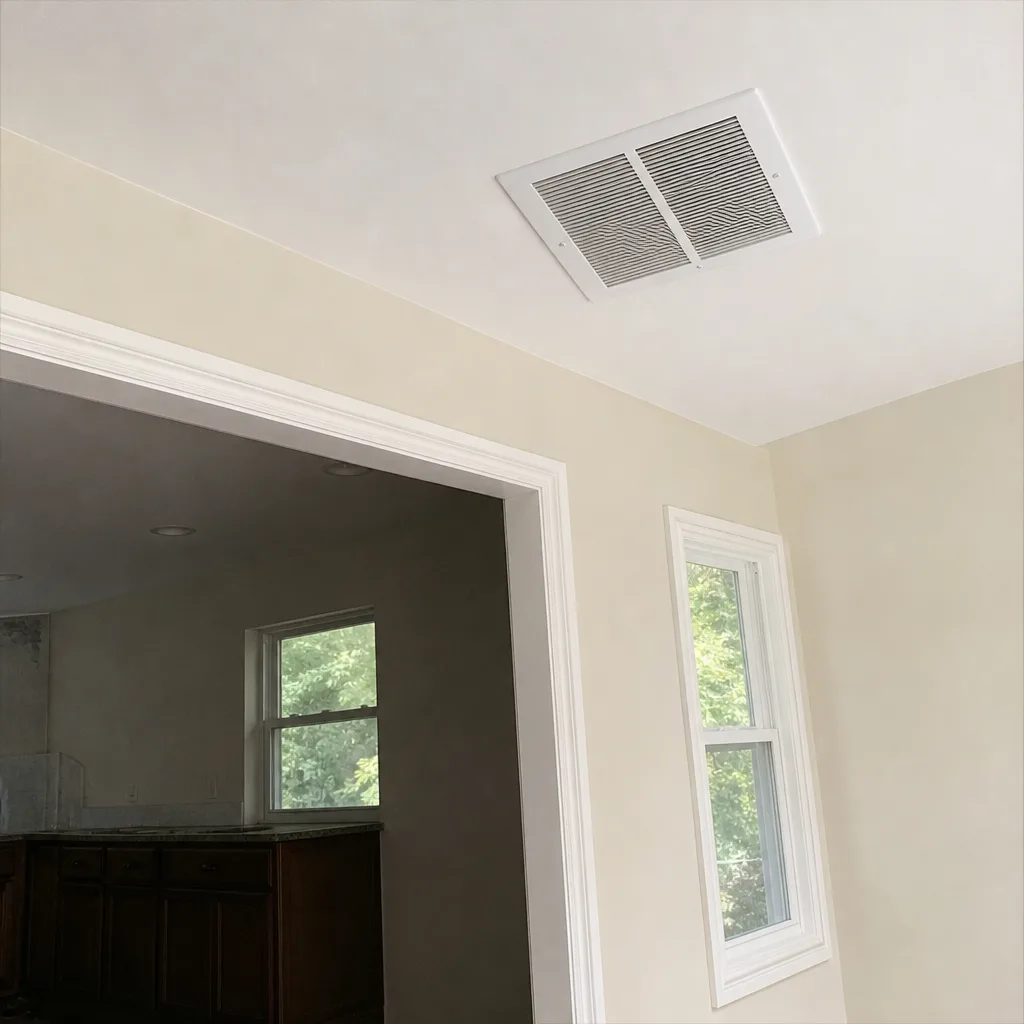 After
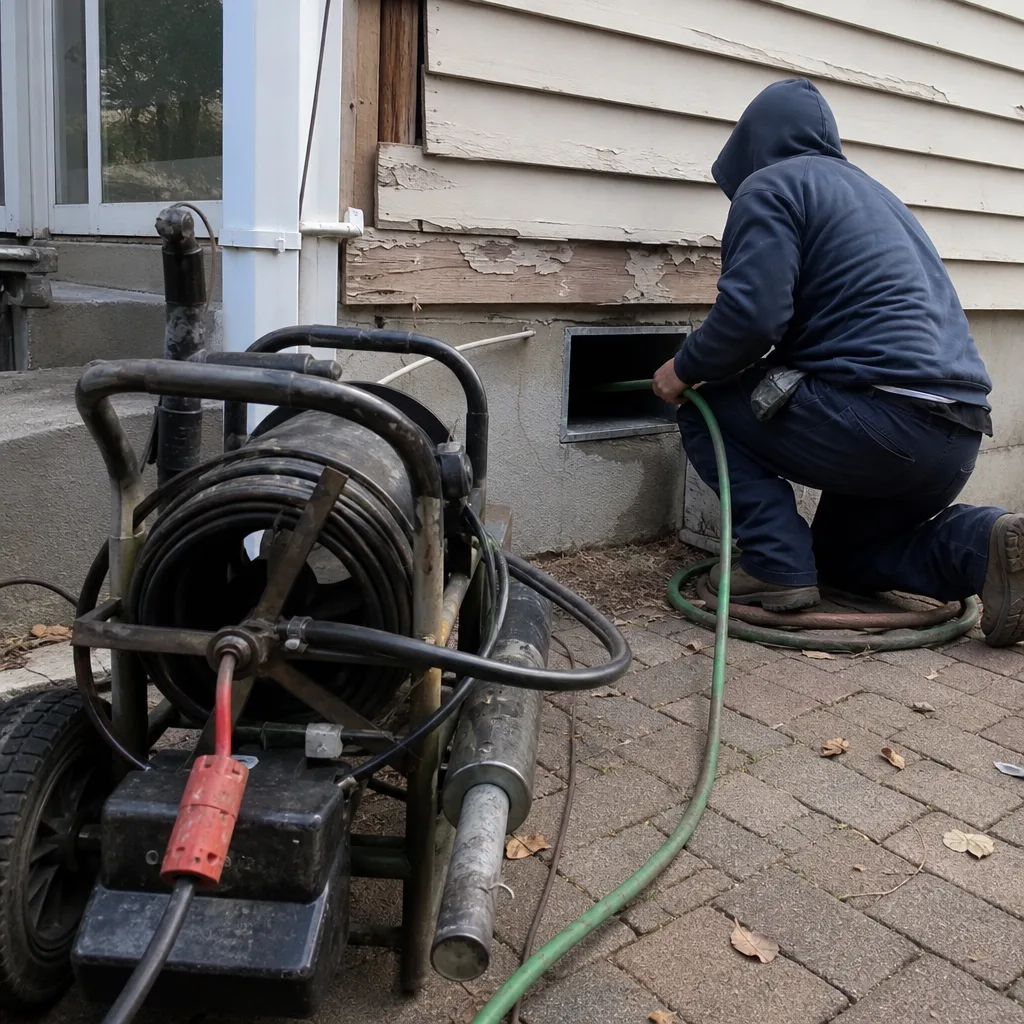 Before
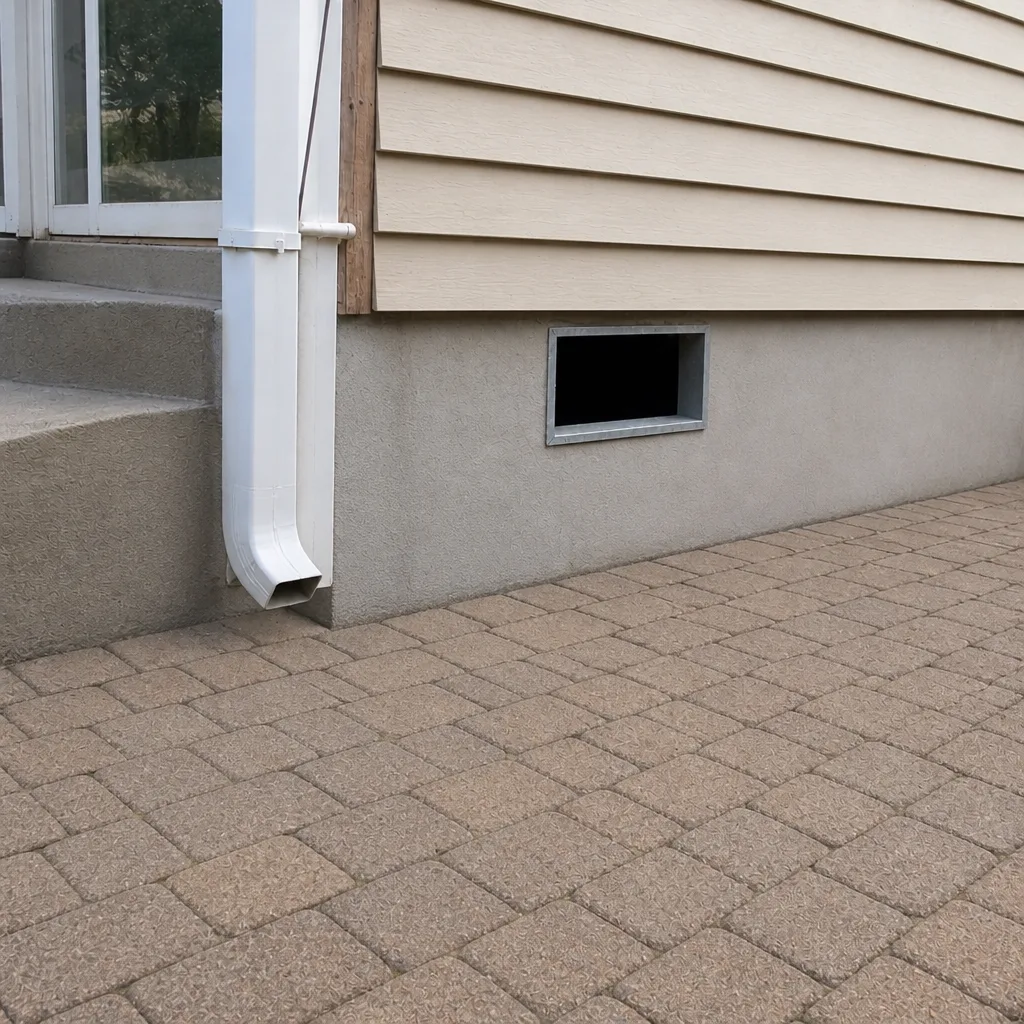 After
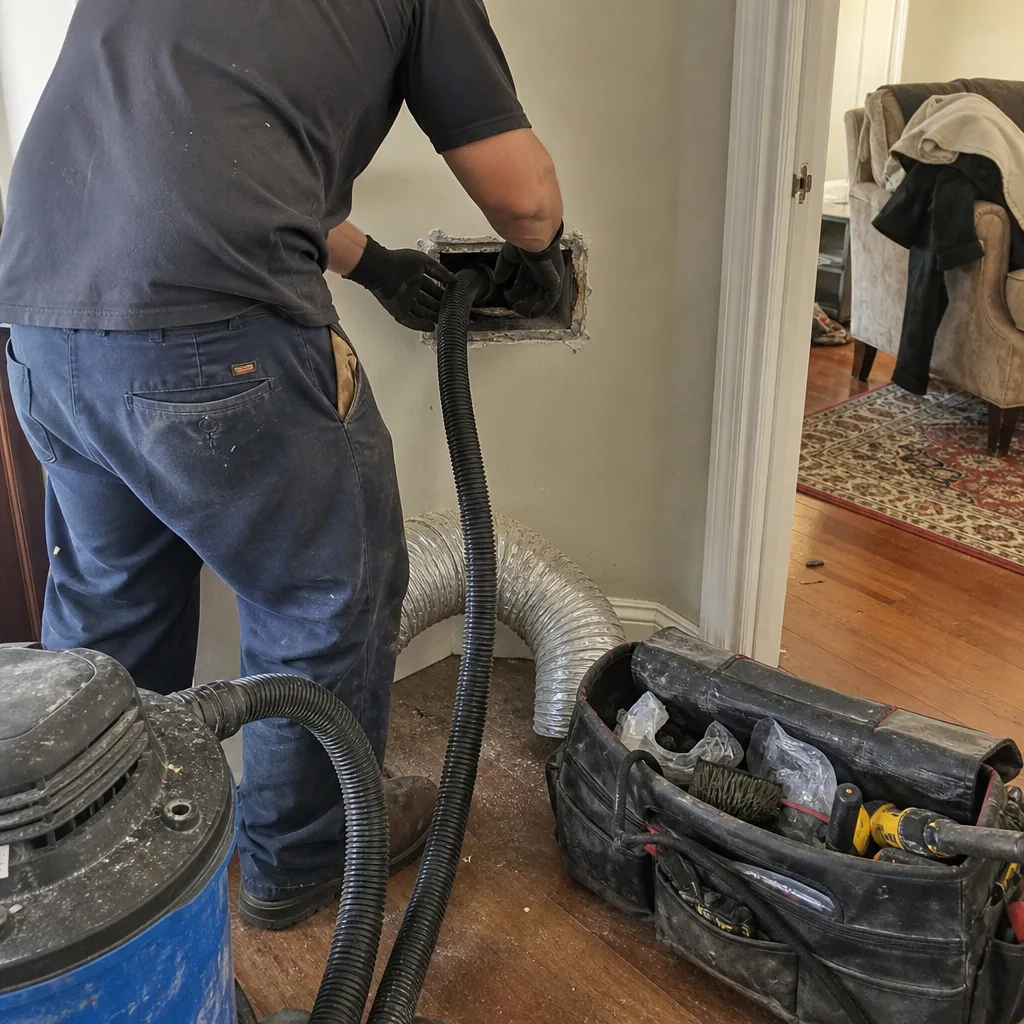 Before
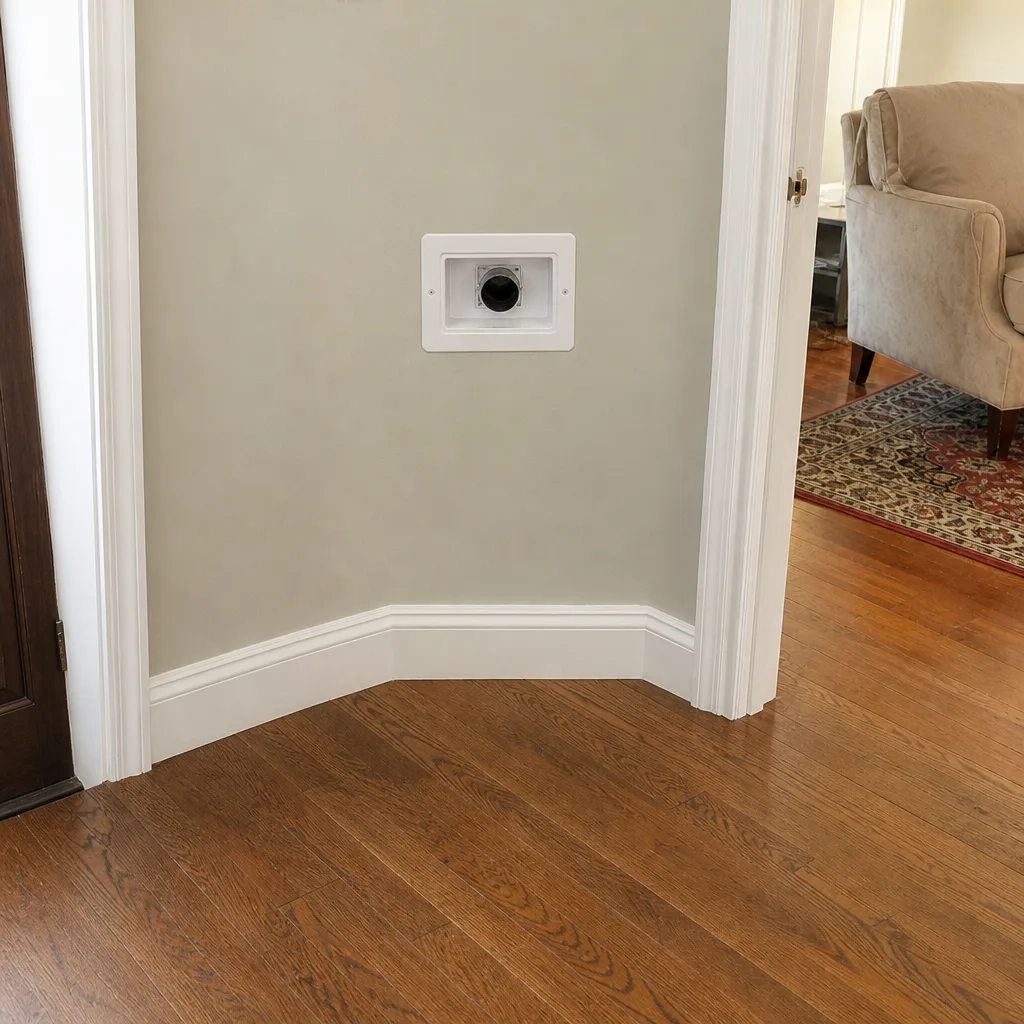 After
When to Call a Professional
Some problems are genuinely do-it-yourself – changing a filter, checking that a register is open, or confirming a balancing damper hasn’t been bumped. Those are worth ruling out first. But call a professional if you’re seeing any of these: visible dust returning to registers within 48 hours of a cleaning, a musty smell that arrives with the blower, airflow in one room that dropped after a service, unfamiliar rattle or whistle from a run, or a dryer that takes noticeably longer to dry a load. Those symptoms each point to a specific process step or a structural problem that needs a camera, containment equipment, or a sealed repair – not a shop vac and a brush. Air Duct Cleaning Woodside offers free estimates in Woodside – call (877) 792-6795. We use professional-grade equipment from Rotobrush and Nikro with Abatement Technologies containment, and we show before-and-after photos of your own ducts. One flat price per system, agreed before work starts.
Frequently Asked Questions
Dust returning within 48 hours usually means the job wasn’t done with negative-pressure containment, so dislodged debris was pushed into the rooms instead of captured. A faint settling over one to two weeks is normal; visible puffing from registers the same day is not. If it’s the second, ask for a re-clean with proper containment. Call (877) 792-6795 for a free estimate on a properly contained re-clean.
Ask to see the vacuum unit and its CFM gauge – the readout of airflow the vacuum is pulling – and look for a sealed connection at the main trunk or register boot. A real duct cleaning unit has a gauge and a HEPA filter; a shop vacuum has neither. Ask where the exhaust goes and whether a HEPA filter is installed. Call (877) 792-6795 with questions – estimates are free.
A musty smell that starts with the blower and fades when it stops usually means mold on the evaporator coil or debris left in branch runs that weren’t reached. Odor tied specifically to the cooling cycle points to the coil; a dry, stale smell points to missed runs. The fix is coil cleaning plus sanitizing, or a camera inspection and targeted re-clean. Call (877) 792-6795 for an exact scope – estimates are free.
A drop in airflow after cleaning usually means a flex duct run came apart at a joint or was crushed during the job. Agitation moves air through the system at pressure, and an already-marginal run can disconnect. This needs a camera inspection and a duct repair and seal, not a second cleaning. Call (877) 792-6795 to book a diagnosis – estimates are free.
Most homes go three to five years between cleanings, but the real answer depends on the house. A home with pets, recent renovation, or a smoker, or one that’s never been cleaned, benefits from a visit sooner. Homes with continuous filter maintenance and no pets can stretch longer. The reliable test is what’s inside a duct, not the calendar. Call (877) 792-6795 for a free estimate and a straight assessment.
Low quotes usually skip containment, trunk access, register boots, or the coil – the four steps that make the job real. A properly equipped job uses professional-grade equipment and takes longer, and the price reflects that. The flat price per system confirmed in writing before work starts is the number that matters. Call (877) 792-6795 for an exact quote – estimates are free.
The Bottom Line
Most post-cleaning duct problems in Woodside come down to one of four process failures: no negative-pressure containment, skipped register boots and trunk access, an untouched evaporator coil, or a flex run disturbed during the job. Diagnose by symptom – fast-returning dust, musty odor, or lost airflow – and pick the right fix: a properly contained re-clean, a camera inspection, a duct repair and seal, or a coil clean. Ask for the CFM gauge, the containment setup, and before-and-after photos of your own ducts. Those three questions separate a real job from a rushed one. From cleaning to sealing to sanitizing, the fix is a process, not luck. If a duct problem is on your mind, Air Duct Cleaning Woodside can help – or read up on air duct cleaning, dryer vent cleaning, and HVAC cleaning.
Call (877) 792-6795. We answer 24/7. Fast dispatch from 7am to 7pm, Sunday through Friday. Our technicians have up to 9 years of experience, the estimate is free, and the price is one flat rate per system agreed before work starts.
Written by the team at Air Duct Cleaning Woodside.