
Last updated November 22, 2026
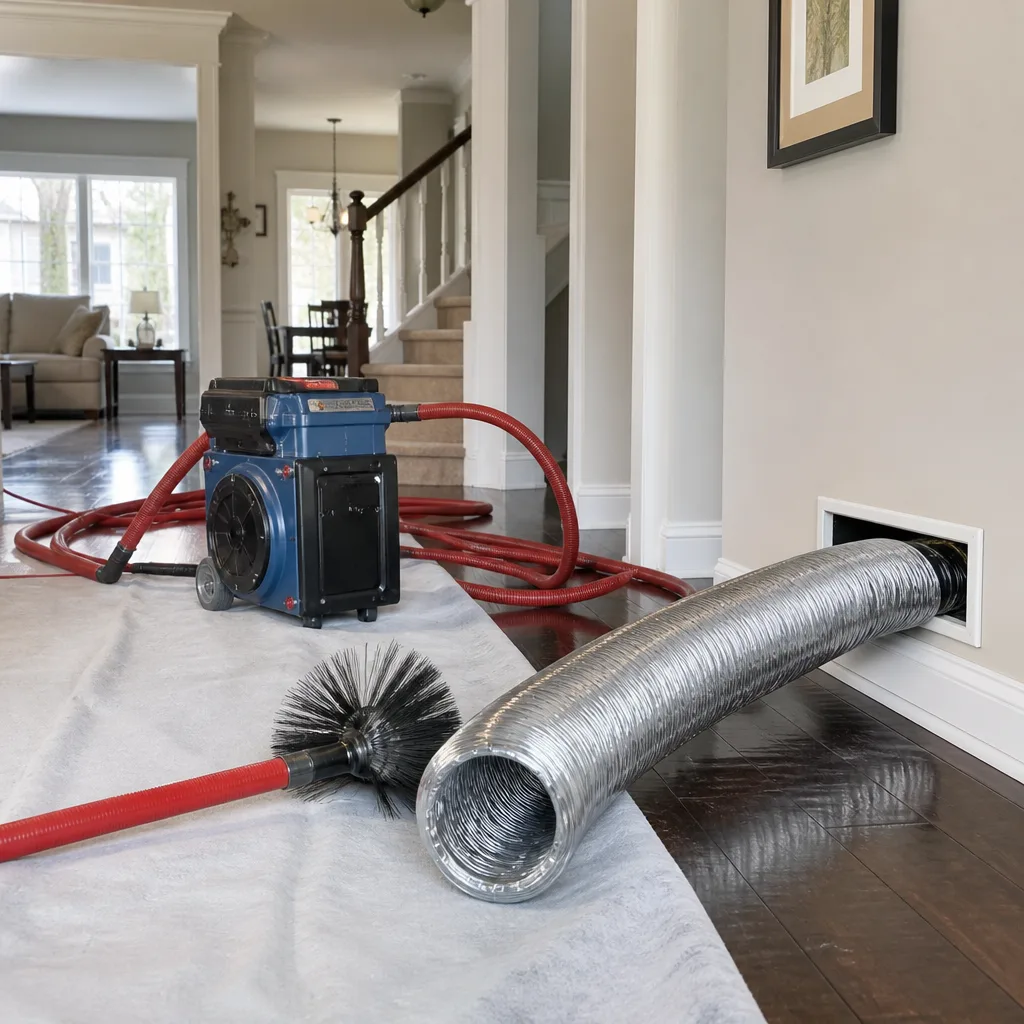 Whole-home duct cleaning
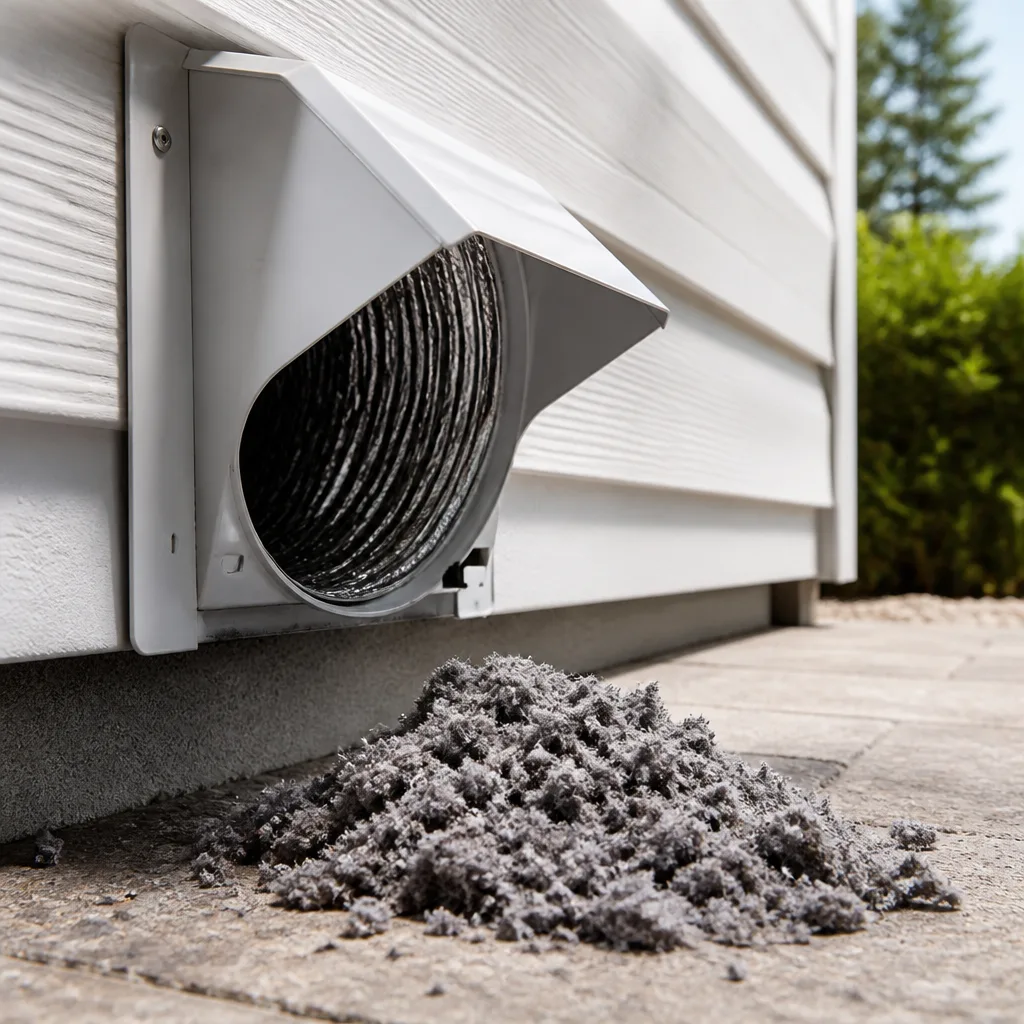 Dryer vent cleaning
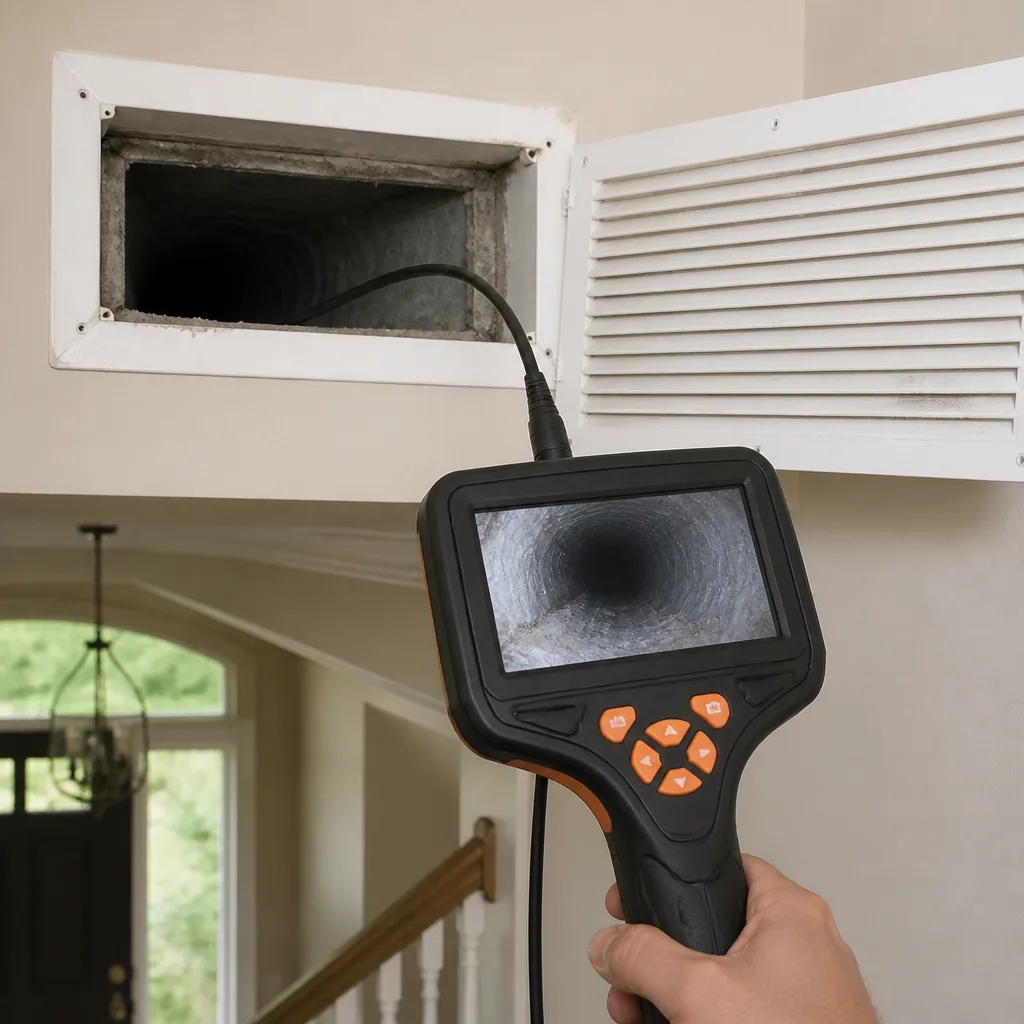 Camera inspection
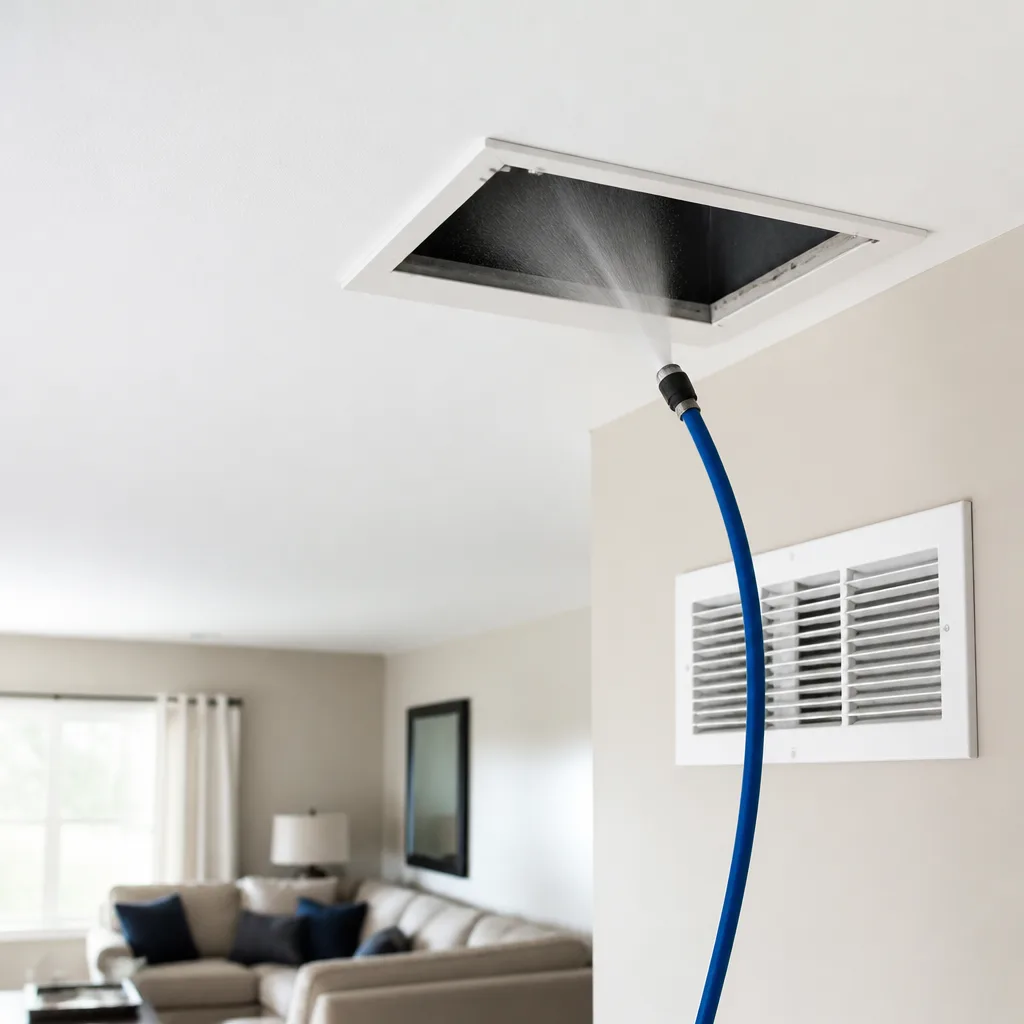 Sanitizing & deodorizing
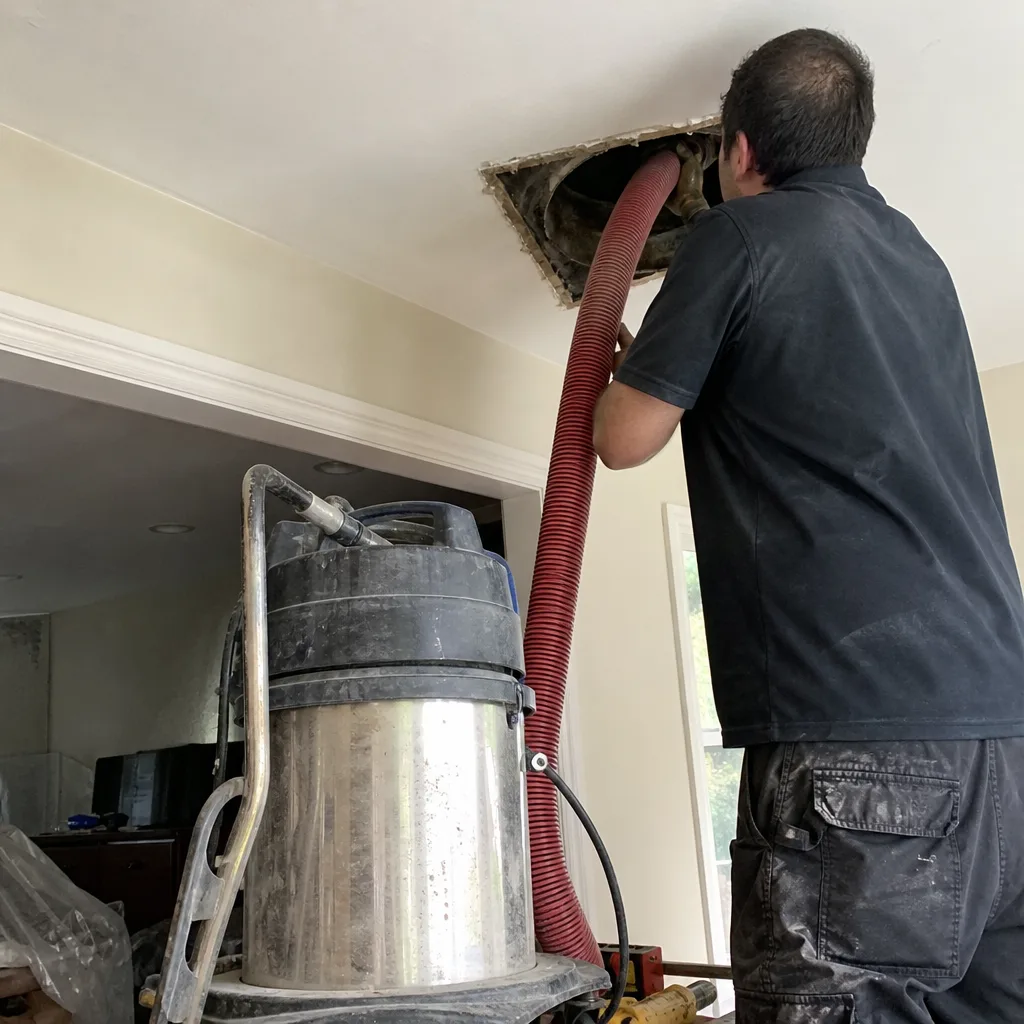
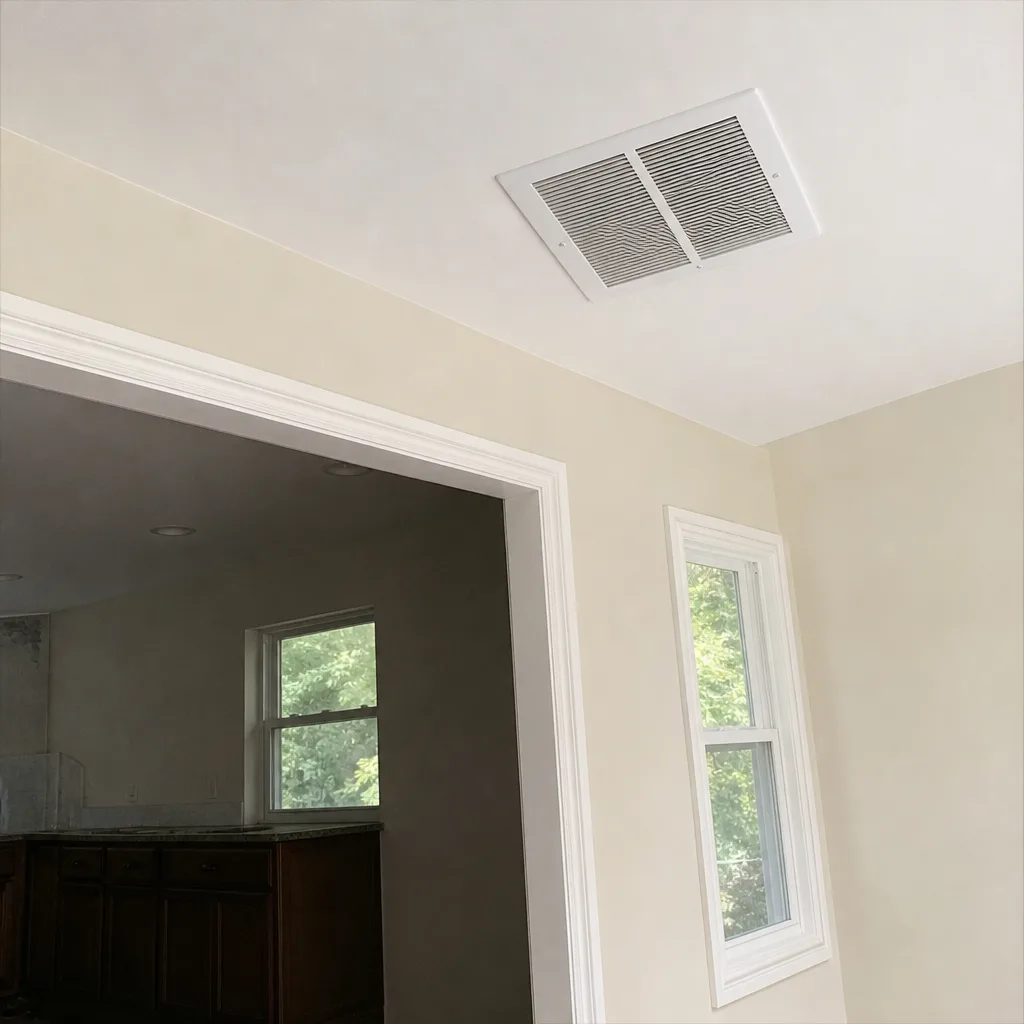
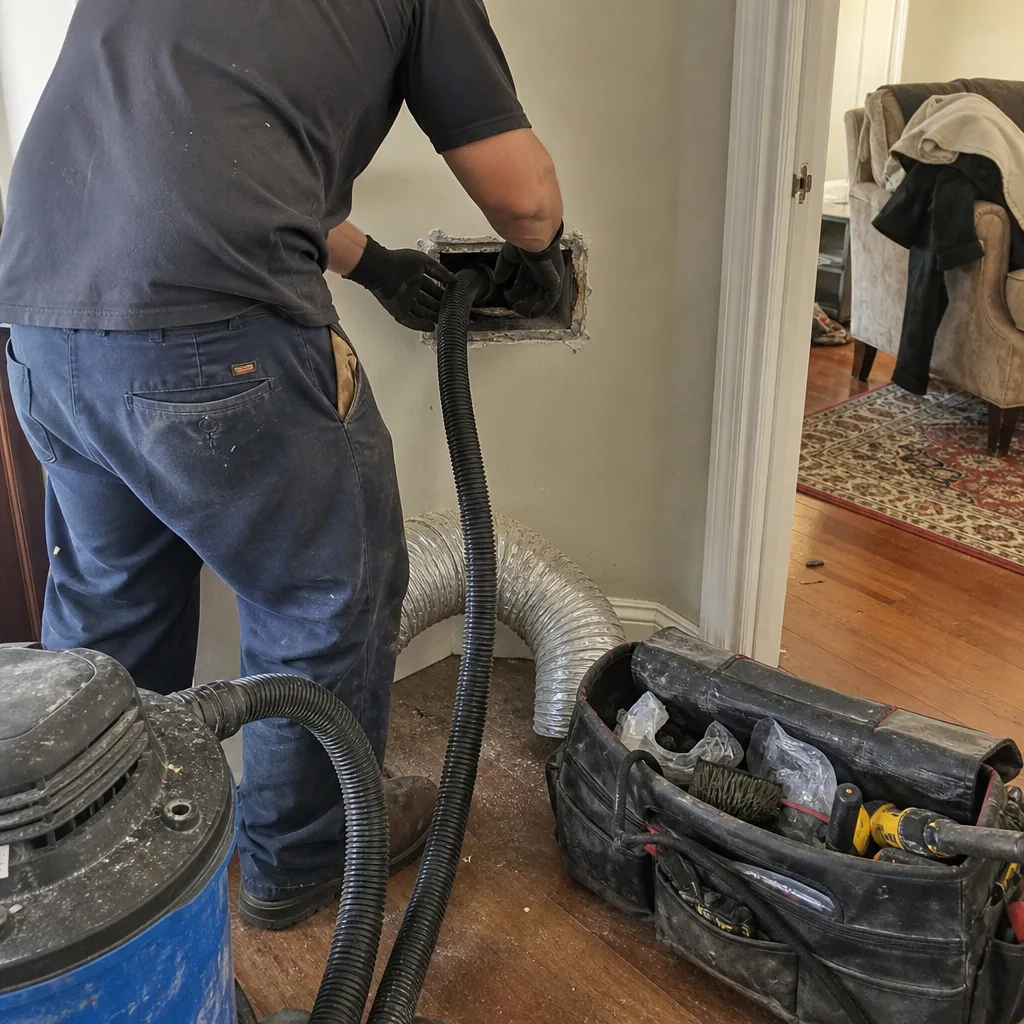
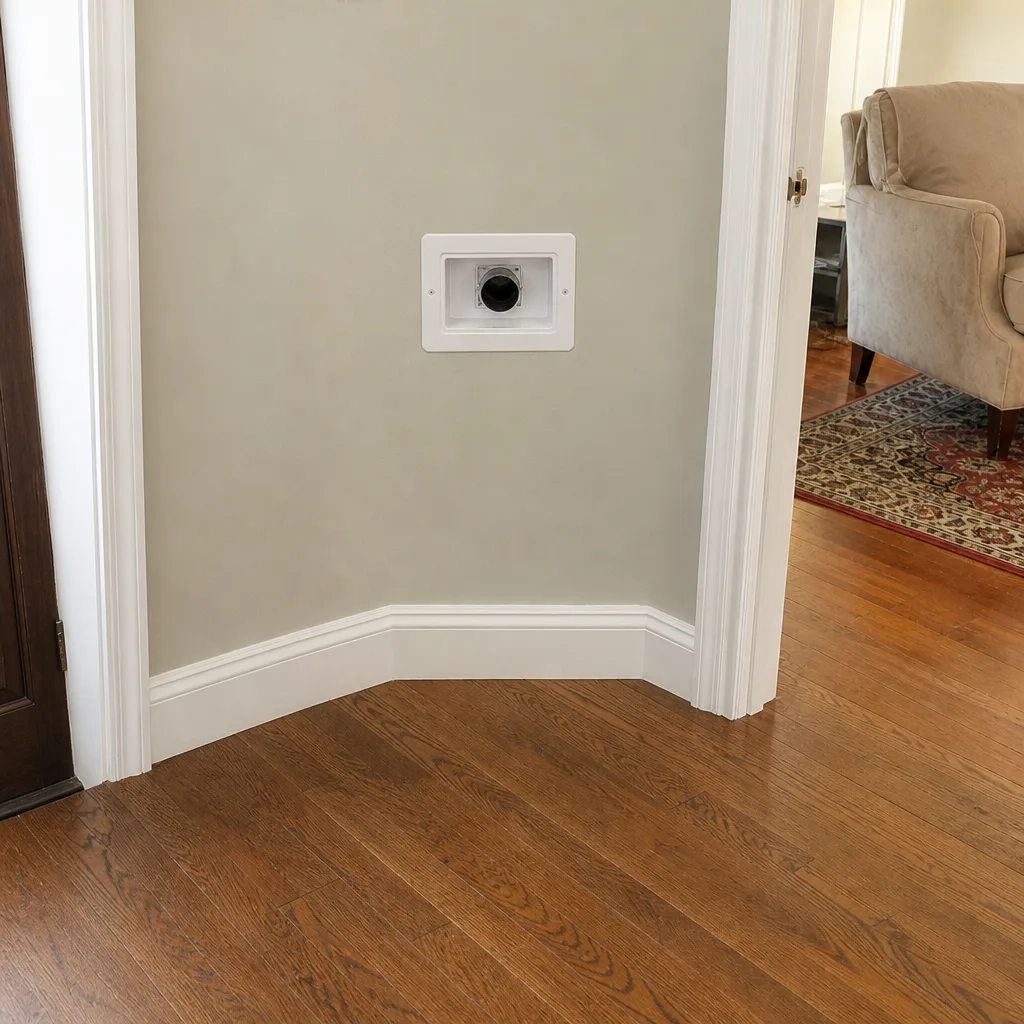
Whole-system duct and dryer vent check with before-and-after photos - you see exactly what came out of your vents
That "$99 whole-house special" is a bait ad - the real number appears once they are in your hallway, or the "clean" is a shop-vac at the register. We photograph the inside of your ducts before and after instead.
Air Duct Cleaning Maintenance Checklist for Woodside Homeowners
Most homeowners change the filter and call it done. That’s not a maintenance plan – it’s replacing the smoke alarm battery and assuming the wiring is fine. A clogged filter is a symptom, and by the time a filter loads up visibly, your return ducts have usually been pulling against restricted airflow for months. What actually protects indoor air quality between professional cleanings is knowing which signals in your own home tell you the duct system is degrading: dust patterns at the registers, odor timing, airflow that shifts room to room. This guide gives you a room-by-room checklist you can run without tools, a way to log what you find so a technician has real diagnostic history, and honest guidance on which tasks belong to you and which need commercial equipment. If you’re in Woodside, the seasonal checkpoints at the end matter more than most checklists admit.
Quick Answer
A practical air duct maintenance checklist for a Woodside home has four layers: a monthly filter check and register inspection you can do without tools, a dated log of dust, odor, and airflow changes room by room, seasonal checkpoints timed to the heating season and the spring pollen load, and a professional cleaning on a schedule set by what your log actually shows. Most of the work is observation, not cleaning. The professional part needs commercial equipment because consumer vacuums and brush kits can’t capture what they dislodge.
Styles & brands we work with
- Whole-home duct cleaning
- Dryer vent cleaning
- Camera inspection
- Sanitizing & deodorizing
Table of Contents
- The Room-by-Room Inspection You Can Do Without Tools
- Filter Type and MERV Rating for Woodside’s Air
- How to Log Observable Changes So a Technician Can Use Them
- Seasonal Checkpoints Tied to Woodside’s Climate
- What You Can Do Yourself vs. What Needs Commercial Equipment
- Post-Renovation and Post-Water-Intrusion Protocol
- The Dryer Vent Check Nobody Puts on the List
- Duct Repair and Sealing: The Step Between Cleanings
The Room-by-Room Inspection You Can Do Without Tools
A homeowner inspection is about observation, and it takes about fifteen minutes per circuit of rooms. Start at the return grille, not the supply registers. The return is where the air comes back to the system, so it tells you what the system is pulling in. Look at the grille face and the frame around it without unscrewing anything. Then work through each supply register in the same order every time, which lets you compare one month to the next.
Here’s the sequence we suggest, because it builds a consistent record:
- Return grille first. Note whether the grille face has a uniform film of dust or a streaky, directional pattern. Streaking toward one edge suggests the return is being fed unevenly.
- Filter housing. With the system off, check the filter’s orientation and look at the housing edges where the filter sits. Gaps at the edges mean unfiltered air is bypassing the media entirely, which is common in older Woodside houses where the housing has shifted.
- Supply registers, one by one. Look at the fins and the wall or ceiling around the register. Dark halos around a register are a sign of long-term dust deposition around a leak at the boot.
- Airflow by hand. Hold your palm near each register for a slow count. You’re not measuring; you’re comparing one room to another and this month to last. A room that feels weaker than it did in the spring tells a technician something.
- Floor and furniture edges. Dust settling along baseboards on the side of the room nearest the register, rather than evenly, points to airflow that’s landing before it mixes.
- Odor check. Walk each room with the system running and note any room where the air smells different from the rest.
Write all of it down, even the fine points. The value isn’t in any single observation; it’s in the pattern across several visits. In our experience, homeowners who arrive with three months of dated notes get a far more accurate diagnosis than homeowners who simply say the house feels dusty.
Filter Type and MERV Rating for Woodside’s Air
Woodside sits in a dense part of Queens where the particulate load on a home’s filter comes from more than one direction. Traffic on the major corridors, ongoing construction, and the neighborhood’s proximity to heavy transit all contribute airborne particles at the fine end of the scale, the kind that stay suspended and get carried through the return. That matters for filter choice in a way it wouldn’t in a rural setting.
The general guidance holds: a MERV 8 to MERV 11 filter is a reasonable everyday choice for most residential systems, and it captures a meaningful share of the fine particulate without overloading the blower. Higher-MERV media, in the MERV 13 range, capture more, but they restrict airflow more, and on an older duct system those restrictions show up as reduced comfort in the rooms farthest from the air handler. The right rating depends on the blower’s capacity, which is why the filter packaging can’t make the decision for you.
What we recommend instead of chasing a number:
- Check the filter monthly for the first three months, then set your interval based on what you actually see. A filter that loads visibly in six weeks in one Woodside home may last three months in another two blocks away.
- Date the filter edge with a marker. The single most common reason filters get changed late is that nobody remembers when.
- Don’t run a high-MERV media in a filter housing that leaks. Air takes the path of least resistance, and a leaky housing defeats an expensive filter. Seal the edges first.
- Keep a spare on the shelf. This sounds small. It’s the difference between changing a loaded filter on the day you notice it and changing it two weeks later.
If you want to move beyond filtration, the air quality products we install – Honeywell and Aprilaire systems among them – work downstream of the filter and address what the media doesn’t. That’s a conversation for a technician who can look at the whole system, not a decision made from a retail shelf.
How to Log Observable Changes So a Technician Can Use Them
A log turns vague complaints into a diagnostic record. Without one, an inspection restarts from zero every time. With one, a technician can trace a symptom back to a date and a cause, and often save a homeowner from paying for work that doesn’t address the actual problem.
Here’s a simple log format you can keep on a note card taped inside a utility closet or in a phone note:
- Date of each observation. Not a range. The specific day.
- Room or register where the observation was made.
- Category: dust, odor, airflow, noise, temperature. One word.
- Severity on a scale of one to five, based on your own baseline. The number matters less than the change from last time.
- Context: filter change, renovation, weather, new furniture, a new pet. Anything that might explain the change.
A log like this answers questions an inspection can only guess at. When a homeowner in Woodside tells us dust on the second-floor registers increased after a kitchen renovation, the log gives us a window of dates for the increase, and we know where to look first – the return path from that part of the house. Without dates, we’re looking everywhere. The difference in diagnostic time is real.
Make it a habit once a month on the same day. Five minutes of quick observation, one line per room where something changed, and nothing to write on the months when nothing did. That’s a maintenance record most homeowners can keep up.
Seasonal Checkpoints Tied to Woodside’s Climate
Woodside’s climate isn’t extreme. It’s humid in summer and cold enough in winter that the heating system runs for months on end. The transitions are where duct problems become visible, because that’s when the system is either starting a long run of continuous use or ending one.
Three checkpoints cover the year:
- Before the heating season. Run the full room-by-room inspection with the system in heat mode on a cool morning. Take special note of the register closest to the air handler and the one farthest from it; if the difference in airflow between them has grown since last year, the duct system is losing pressure somewhere.
- After pollen season in the spring. Expect dust to load faster for a short window. Change the filter if it shows visible loading, log the change, and run the inspection again. This is the checkpoint where most homeowners discover whether they need a professional cleaning sooner than they planned.
- After any renovation or water intrusion. This checkpoint is event-triggered, not seasonal. See the next section.
There’s a fourth, informal checkpoint worth adding if your home is old: after any change to the heating equipment itself, whether it’s a service visit or a repair. A system that runs differently pulls on the ducts differently, and a duct network that was balanced against the old setup can develop new pressure drops in rooms it used to feed well. Check the registers again after any work on the equipment. It’s a fifteen-minute check that saves a season of wondering why one room got colder.
What You Can Do Yourself vs. What Needs Commercial Equipment
Homeowner maintenance and professional duct cleaning are different jobs, and confusing them is the most common mistake we see. The homeowner tasks are observation and simple hardware changes. The professional tasks involve dislodging and capturing what’s come loose inside the duct walls, and that requires equipment you can’t rent or buy at a retail store.
The division is straightforward:
- Yours: filter replacement, filter housing inspection for gaps, register grille cleaning with a vacuum brush, log keeping, airflow checks by hand, and noticing odor timing.
- Yours, occasionally: wiping down the visible face of the return grille, replacing a damaged grille, and keeping furniture and rugs clear of the return intake.
- Professional: cleaning the duct walls themselves, removing settled debris from branch runs, sanitizing the duct interior, sealing leaks at joints and boots, and any work inside the air handler or on the blower.
The reason for the split is containment. Loosening dust inside a duct with a consumer brush or a shop vacuum dislodges it into the air, and that air is what your family breathes. A proper cleaning uses a system that captures what it dislodges, which is why we run Rotobrush and Nikro duct cleaning equipment with Abatement Technologies negative-air and HEPA containment set up before any work starts. That’s the same category of tooling used in remediation work. It’s not a more powerful vacuum; it’s a different process.
Any time you’re considering work inside the ducts beyond a surface grille cleaning, that’s a professional task. The equipment difference isn’t cosmetic – it’s the whole point. If you want to understand the process in more detail, our page on air duct cleaning walks through each step.
Post-Renovation and Post-Water-Intrusion Protocol
Two events reorder everything else on the checklist: a renovation and a water intrusion. Both put material into the air that the filter wasn’t designed for, and both leave traces inside the ductwork that show up over the following months if the ducts aren’t addressed.
After a renovation, drywall dust, sawdust, and insulation particles settle in the returns first because they’re the low-pressure side of the system. The protocol:
- Change the filter on the day the last trade leaves. Don’t wait for the monthly check.
- Run the system and inspect the return grille after the first full day of operation. Note whether dust appears on the grille face faster than before the renovation.
- Log the date and the renovation scope. When a technician inspects later, that context matters.
- Plan a cleaning before the cold season if the renovation involved demolition or drywall work. Construction debris in a duct system gets redistributed every time the blower runs.
After a water intrusion – a leak, a burst pipe, or a humidifier overflow – the concern shifts to moisture in the duct lining and any organic material that settled on it. The system should be checked promptly rather than run extensively, because a humid duct interior is a different condition than a dry dusty one. If water reached insulation near the ductwork, that insulation needs inspection, not just the ducts. Our team handles duct repair and sealing as a core service alongside cleaning, which is useful here; sealing a leak after a water event is often what stops the problem from returning. For HVAC-side work, including the air handler and blower, our HVAC cleaning service covers cleaning the equipment that the ducts feed.
The Dryer Vent Check Nobody Puts on the List
The air duct checklist most homeowners use stops at the supply and return grilles. The dryer vent is technically separate from the HVAC system, but it’s an air path in the same house, and it’s the one with the fire risk attached. Lint accumulation in a dryer vent is a leading cause of household fires, and the HVAC duct cleaners who clean and leave don’t address it.
The homeowner check is simple. After a load of laundry:
- Feel the outside vent hood. Warm, damp air should exit with visible force. A weak or cool flow suggests a blockage.
- Look in the lint trap housing. A buildup beyond the trap itself, visible in the slot, is a sign the run needs attention.
- Notice drying time. A load that starts taking noticeably longer is the earliest signal.
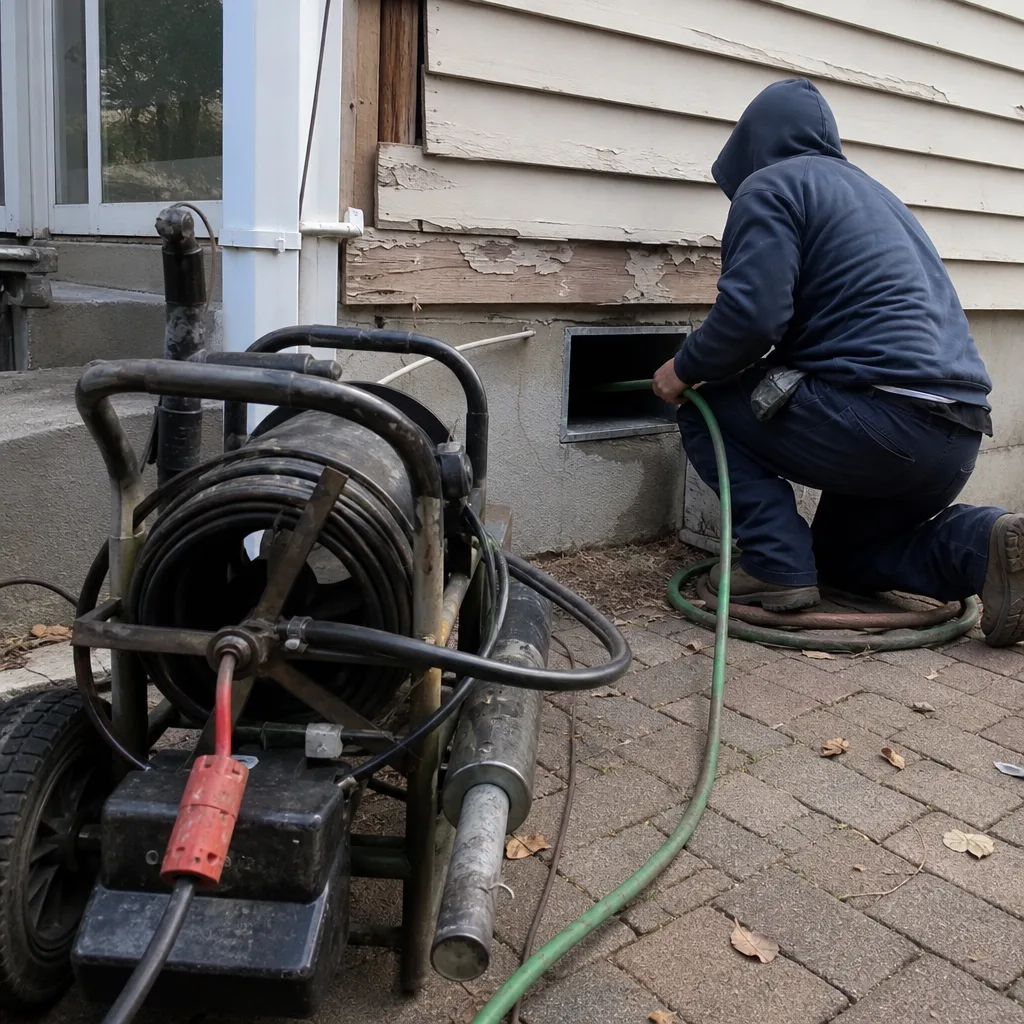
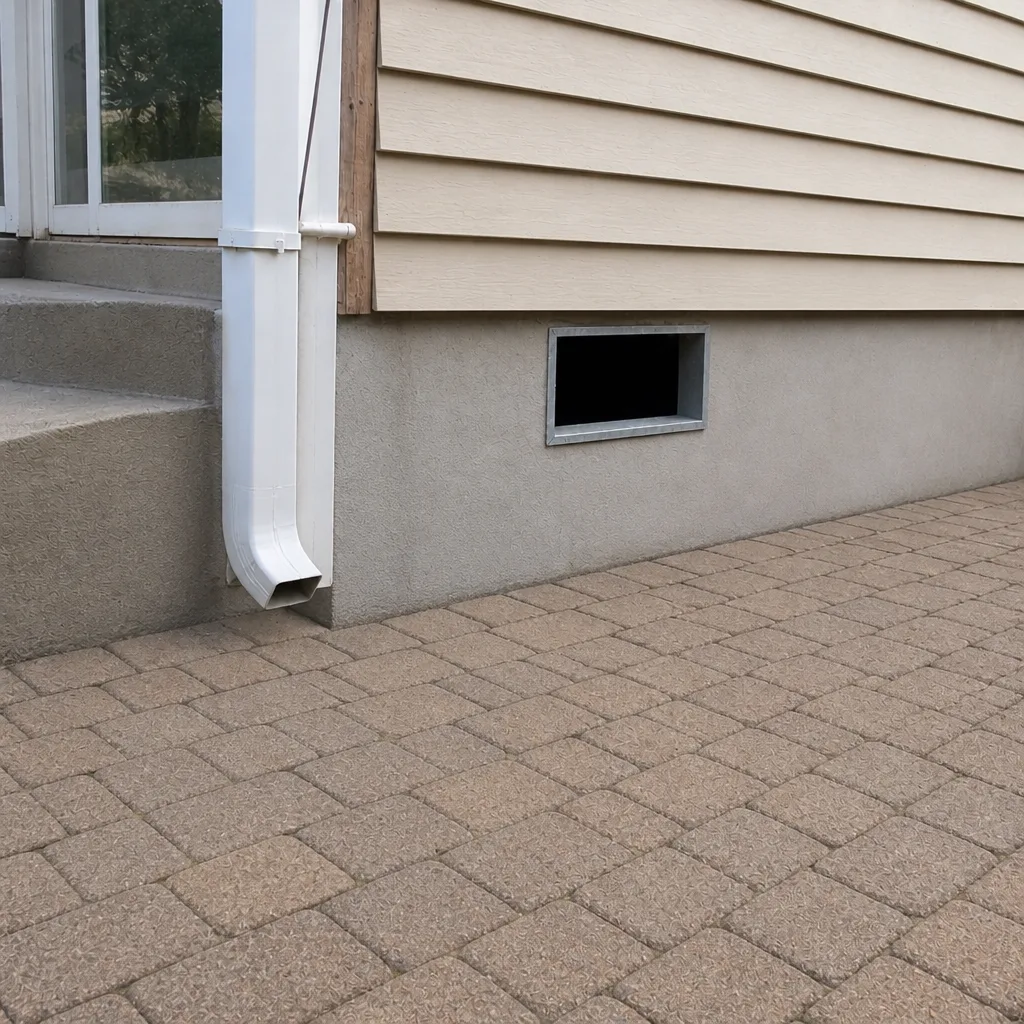
If any of those checks point to a problem, the vent run needs a professional look. We offer dryer vent cleaning as a dedicated service because the tools and the technique are different from duct cleaning, and skipping it leaves a real risk in the house. The check belongs on the same annual list as the HVAC inspection.
Duct Repair and Sealing: The Step Between Cleanings
Cleaning a duct system that leaks is a job that has to be repeated sooner than it should be. Leaks at joints and at the register boots let unfiltered air into the system, which means the filter isn’t actually filtering what the house is breathing. That’s why duct repair and sealing sit between cleaning visits, not after them.
Homeowners can spot the signs without climbing into an attic or crawlspace:
- Dark stains around a register on the drywall, wall, or ceiling, which indicate air moving through a gap.
- Rooms that never reach temperature even when the rest of the house holds fine.
- Whistling or hissing at a register when the system is running.
- Dust collecting on the outside of a grille, especially on one edge of the frame.
If you see those, the fix is a technician’s inspection and sealing work, not another round of cleaning. Once the duct system is sealed, the cleaning lasts longer, the filter does its job, and a Guardsman protective treatment applied during sanitizing holds up the way it should. That’s the whole point of treating the checklist as a system rather than a list of tasks.
Common Mistakes to Avoid
- Assuming a filter change is the whole maintenance plan. The filter catches what’s suspended; it doesn’t address what’s settled in the returns. A duct system can be visibly clean on the grille face and loaded inside the branch runs.
- Running a brush kit or shop vacuum inside a duct. This doesn’t clean the system; it puts the dust back into the air the household breathes. Capture requires containment, and containment requires commercial equipment.
- Skipping the log because the problem doesn’t feel serious yet. The dates are what make a diagnosis accurate. Without them, an inspection becomes an expensive guess.
- Waiting until the heating season to inspect. If the system starts the season with a problem, the problem compounds through every month of use. The pre-heating-season checkpoint exists to catch it before then.
- Ignoring the dryer vent because it’s not part of the HVAC system. The vent is a fire risk, and it’s often overlooked on a Woodside home because the ductwork and the vent terminate separately in most houses.
- Cleaning a duct system without sealing the leaks first. Cleaning a leaky system is a temporary fix. The unfiltered air returns through the gaps and the settled dust comes back.
- Choosing a cleaner based on a teaser price. A very low advertised figure and a large final invoice mean the work was priced per-vent after the truck arrived. Whole-system pricing agreed before work starts is the honest structure, and it’s what we use.
See the difference
 Before
 After
 Before
 After
 Before
 After
When to Call a Professional
Homeowner maintenance handles observation, filters, and simple hardware. Call a professional when any of these appear: visible dust on register grilles that returns within days of cleaning, an odor that’s present in one room and not in others, an airflow difference between rooms that’s grown since the last check, visible dark staining around a register boot, a renovation that produced drywall or demolition dust, or any water intrusion near ductwork. A dryer vent that’s running slow, a heating system that’s been serviced and behaves differently since, or a home that’s never had the ducts cleaned are also reasons to have the system inspected.
Air Duct Cleaning Woodside offers free estimates in Woodside – call (877) 792-6795. We answer 24/7. Fast dispatch from 7am to 7pm, Sunday through Friday. Our technicians have up to 9 years of experience, and every service we perform uses the professional equipment the job actually requires. For a broader look at what we do, the Air Duct Cleaning Woodside page is the place to start.
Frequently Asked Questions
There’s no universal interval, and any company that promises one is guessing. For most Woodside homes, an inspection every two to three years is a reasonable baseline, adjusted by what your log shows: a home near a construction site or with a pet loads faster than a quiet apartment with no carpet. Let the observations set the schedule, not a calendar reminder.
A MERV 8 to MERV 11 filter is a sensible everyday choice for most homes here, and a MERV 13 media makes sense only if the blower can handle the airflow restriction. The right call depends on the system, so check the filter packaging’s stated limits and ask a technician if you’re not sure. A higher number isn’t automatically better; the wrong filter can starve rooms of air.
We price the whole system per job, based on the number of zones, the length of the runs, and the condition of the ductwork, and we give you that figure in writing before work starts. We don’t quote per vent and we don’t advertise a teaser price that changes on arrival. Call (877) 792-6795 for an exact quote – estimates are free.
A quote that looks unusually low is usually per-vent pricing waiting to be multiplied, or a cleaner planning to run a brush through the grilles and call it done. Ask what equipment will be used and what containment is in place. If the answer is a shop vacuum and no containment, you’re not getting the same work. Call (877) 792-6795 to talk through what a proper job includes for your home.
Before-and-after photos of your own ducts, taken during the job, are the only proof that stands up. We document the process and show you what was removed. If a company won’t show you the inside of your ducts, ask why. Call (877) 792-6795 and ask for the photos as part of the estimate.
No. A consumer vacuum and a brush kit dislodge settled debris without capturing it, which pushes it into the air your household breathes. Proper cleaning uses contained negative air drawn by Rotobrush or Nikro equipment with Abatement Technologies HEPA containment, and that’s not a setup you can build at home. Surface grille cleaning is fine; inside the ducts is not. Call (877) 792-6795 if you’re not sure which category a job falls into.
The Bottom Line
The point of a duct maintenance checklist isn’t to clean more often; it’s to notice the system degrading before it becomes a problem you react to. Change the filter on schedule, run the room-by-room inspection once a month, log the dates and the changes, and check the pre-heating season and post-pollen season. Know which tasks are yours and which need commercial equipment with containment. Add the dryer vent to the same list. When the log tells you it’s time, get a written whole-system quote, ask for before-and-after photos, and hold the work to that standard. A clean, sealed, well-filtered system is what quietly keeps the air in a Woodside home where it should be.
Call (877) 792-6795 for a free estimate. We answer 24/7. Fast dispatch from 7am to 7pm, Sunday through Friday.
Written by the team at Air Duct Cleaning Woodside.